
 Fast turnaround on instant printing
 Call 416-699-1555
 Call Us to Speak with an Agent
 Friendly Customer Service
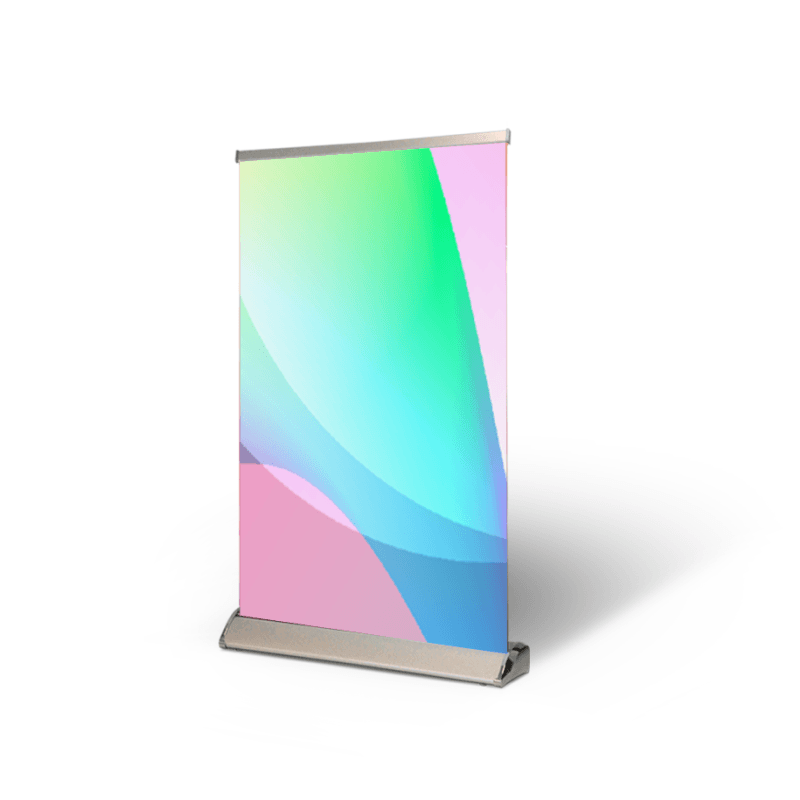
Table Top Pull Up Banner
13 oz Matte Vinyl
Each table top pull up banner is a smaller version of a retractable banner. They’re especially popular at trade shows and conventions where space is limited. These mini pull up banners are also easy to transport and set up.
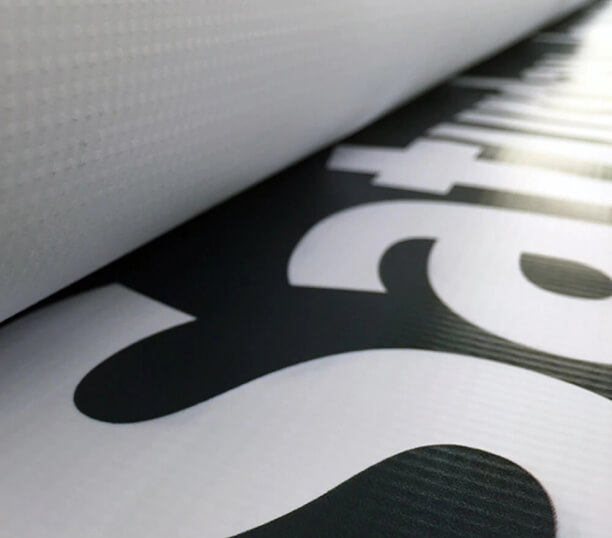
13oz Matte Vinyl
We use the same reliable 13oz matte vinyl that you love for our table top pull up banners. That means you can say goodbye to glare when using these custom table banners.
Table Top Banner Stands
Each table top pull up banner comes in its own table top retractable banner stand. These small but sturdy stands are made from lightweight aluminum and have chrome-effect end caps.
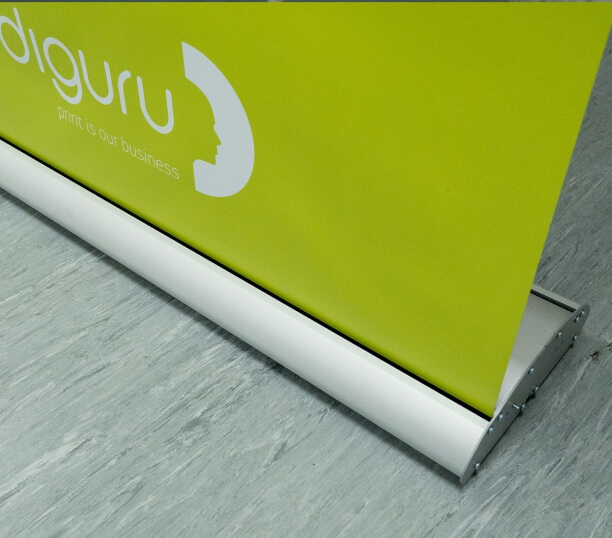
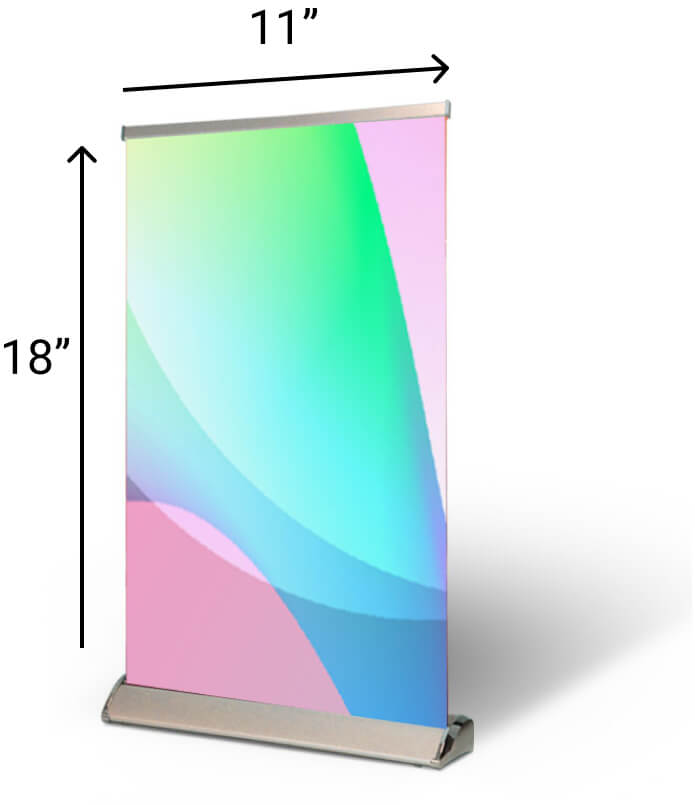
Table Top Pull Up Banner Size
Size: 11” x 18”
These custom table banners are big enough to be the center of attention without taking up too much table space.
Step 1
Ensure the file matches the product's required dimensions. Ensure that the artwork is created in CMYK 300 dpi with 1/16 inch bleeds on all sides.
Step 2
Make sure that all images are embedded, and that all the text is outlined.
Step 3
Export all files into PDF format with bleeds.
Special Instructions: Ensure that your PDF artwork is 11'' x 18''. Bottom 1'' of your artwork should not consist of important artwork because it will be hidden by the stand.
Download Setup Guide
Get It NowHow to set up multi-page files properly
File Orientation Guide
Learn MoreHow to set up proper orientation for your files
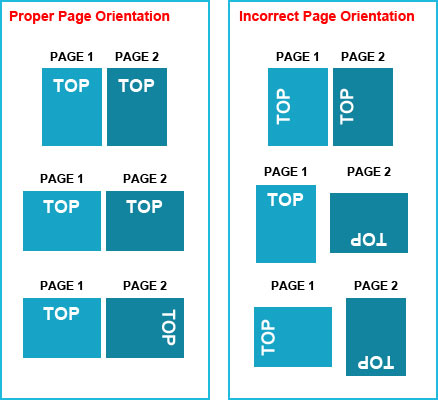
File Orientation refers to the orientation of the artwork files submitted. Ensure that they are submitted to back up properly to produce the intended result.
Flat Artwork (Postcards, Flyers etc.)
How To Set Up Your Files
Learn MoreLearn how to set up your files the right way.
General File Preparation Guidelines
- Download our guides to ensure a more optimal print result.
- Be sure to DELETE any hidden layers that are not intended to print (ie: setup guide layers or other hidden artwork layers) to ensure no risk of them appearing on the final print.
- Each job (including multiple paged projects) must be submitted as a single PDF file. Ensure that all pages are the same size.
- Files must be submitted with proper orientation to ensure proper back up.
- It is best to try to avoid using borders in your design. If a border is too close to the trim, the trim may be slightly off-center.
- File must consist of 1/8" bleed and all important art and text must be within the safety margin.
- Ensure that your PDF is high res and that all images are CMYK at 300 DPI.
- Black type should have the following values: C0, M0, Y0, K100.
- Embed or outline all fonts.
- For best colour results, supply a CMYK only files.
Large Format Guidelines
- Bleed is not required for large format projects, but it is recommended.