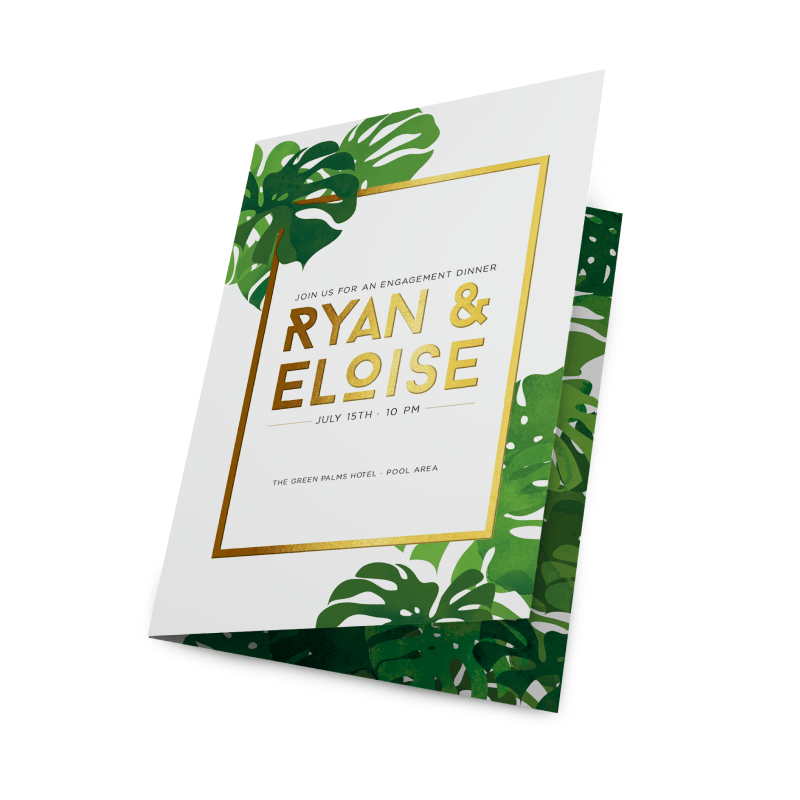
Metallic Foil Greeting Cards
Matte Lamination + Gold / Silver Foil
Print gold foil or silver foil on laminated greeting cards for a regal, festive effect. With our affordable foil printing, you’ll be able to offer metallic foil greeting cards while your competitors can’t.
Envelope
Below are the envelope sizes for each of our standard greeting card sizes. Please note that any custom size greeting cards will not be a perfect fit with our standard envelopes. These envelopes will not be printed (white only). For printed envelopes, please order here.

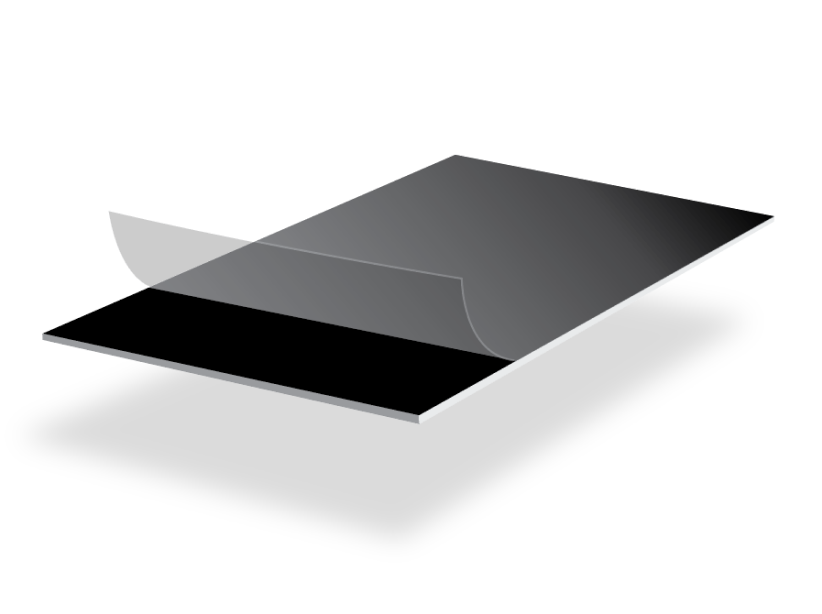
14pt + 2pt Laminated Stock
Our custom foil greeting cards start with 14pt C2S gloss stock. After we print your CMYK image, we apply a matte lamination sheet, which increases the thickness of the cards. Finally, we add the custom foil printing.
Print Gold and Silver Foil
With our affordable gold foil printing, you’ll be able to offer your clients more than just CMYK. Custom greeting cards with foil have that extra layer of luxury, professionalism, or festivity.
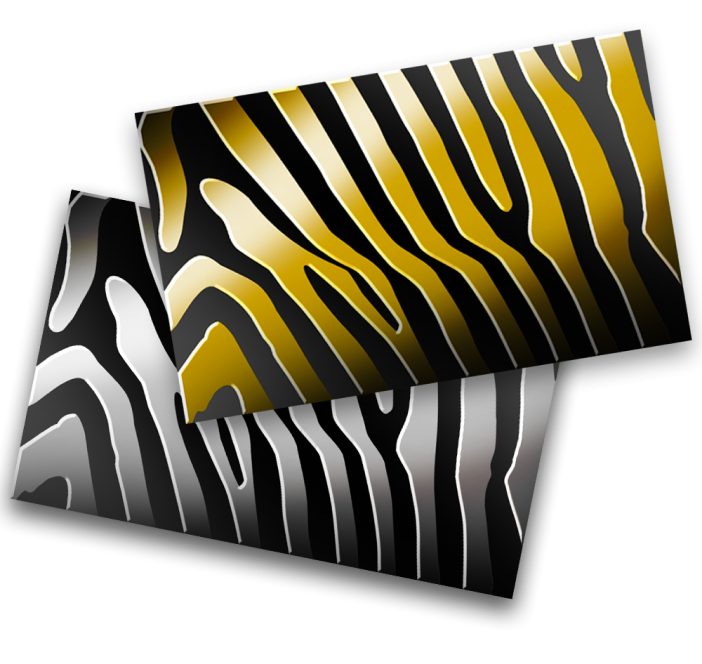

Raised Foil Greeting Cards
Foil greeting card printing doesn’t just add an extra metallic color; it adds texture too. Your clients will be able to physically feel the raised metallic foil printing on their greeting cards.
Folded Artworks (Greeting Cards, Folded Business Cards, etc.)
Step 1
Ensure the file matches the product's required dimensions. Ensure that the artwork is created in CMYK 300 dpi with 1/16 inch bleeds on all sides.
Step 2
Separate artwork into two files: one is for foil lamination, for which the artwork's color should be set to 100% black. Another file should be in the CMYK color space for artwork that is not foil printed.
Step 3
Export all files into PDF format with bleeds.
For best results, we strongly recommend you ensure the following to avoid delays and/or unexpected print results.
- Supply fonts larger than 8pt
- Use sans serif fonts
- Avoid having artwork underneath the foil areas (i.e. using a mask instead)
- Avoid areas of heavy foil coverage with small/fine (non-foil) text or linework knocked out, as there is a tendency for these to fill in.
- Leave at least a 5mm (approximately 0.20") foil-free area around the edges. Extending the metallic foil design to the edge of the card creates a high possibility of the foil peeling off.
How to Prepare Your Files
Download Setup Guide
Get It NowHow to set up multi-page files properly
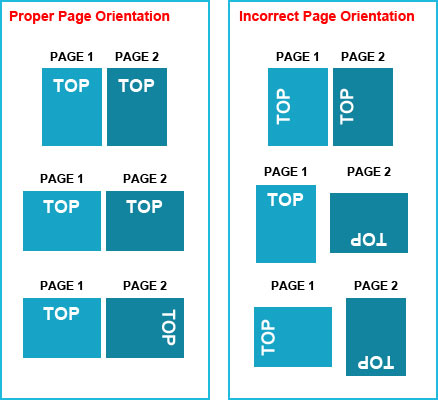
File Orientation Guide
Learn MoreHow to set up proper orientation for your files
File Orientation refers to the orientation of the artwork files submitted. Ensure that they are submitted to back up properly to produce the intended result.
Flat Artwork (Postcards, Flyers etc.)
How To Set Up Your Files
Learn MoreLearn how to set up your files the right way.
General File Preparation Guidelines
- Download our guides to ensure a more optimal print result.
- Be sure to DELETE any hidden layers that are not intended to print (ie: setup guide layers or other hidden artwork layers) to ensure no risk of them appearing on the final print.
- Each job (including multiple paged projects) must be submitted as a single PDF file. Ensure that all pages are the same size.
- Files must be submitted with proper orientation to ensure proper back up.
- It is best to try to avoid using borders in your design. If a border is too close to the trim, the trim may be slightly off-center.
- File must consist of 1/8" bleed and all important art and text must be within the safety margin.
- Ensure that your PDF is high res and that all images are CMYK at 300 DPI.
- Black type should have the following values: C0, M0, Y0, K100.
- Embed or outline all fonts.
- For best colour results, supply a CMYK only files.


 Fast turnaround on instant printing
 Call 416-699-1555
 Call Us to Speak with an Agent
 Friendly Customer Service